For road cyclists, there are few tactile delights as quick to transform and rejuvenate your bike as freshly wrapped handlebar tape. After all, it is one of the three primary contact points you have on a bike, and it is also arguably the one through which you communicate the most with the road.
HAVE YOU GOT OPTIONS
Bar tape comes in many different forms. Traditionalists and the truly old-school swear by classic cotton tape, with a layer of grip-enhancing twine wound on top and finished off by a protective brushing of glossy shellac. Nowadays though, many bar tapes are made up of either cork or EVA foam (for shock absorption), leather, or various rubbery materials that become tacky when wet. Some people even use butyl inner tubes as bar tape.
Common to all of them is that they will wear out with use, becoming knackered and tattered with time, so they do need to be replaced every now and then. (This is especially true for white bar tape!) It is usual practice to change bar tape at the same time you replace your brake and shift cables and cable housings, since these are hidden under the bar tape.


FRESH CABLES, FRESH BAR TAPE
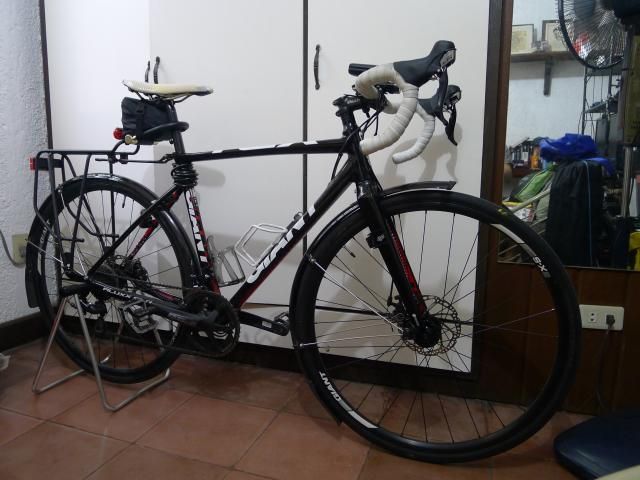
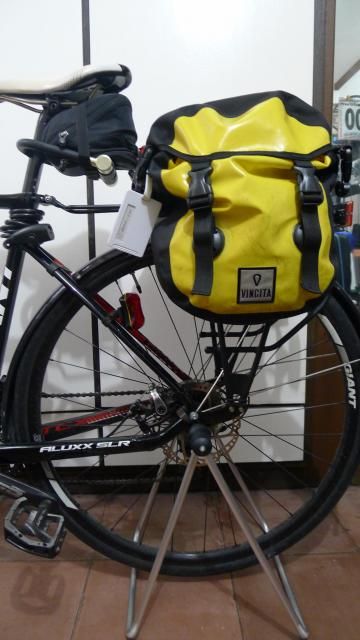
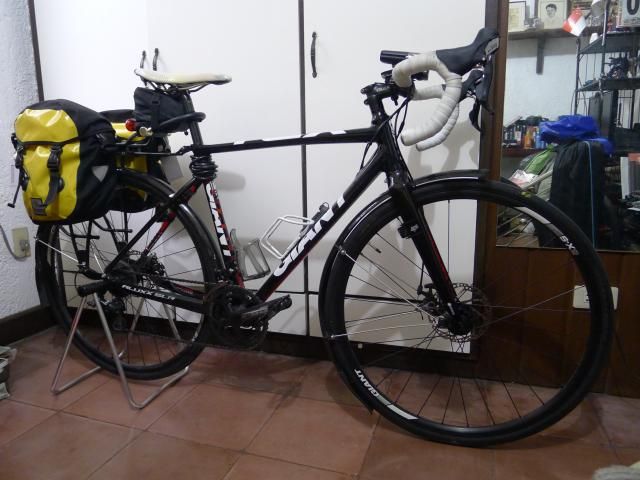
It just so happens that I recently sent my Giant TCX SLR 2 to LifeCycle for brake cable replacement, a maintenance job I don’t yet have the tools for. While I was there, I bought fresh bar tape for me to install at home. It is a simple enough job, requiring only a pair of scissors and some electrical tape.

The box of bar tape itself usually includes everything else that you’ll need:
- Two rolls of handlebar tape (obviously)
- Two extra strips of handlebar tape
- Bar end plugs
- Finishing strips – these can either be tape or stickers
WRAP THAT BAR!
Now, there are a great many ways of wrapping bar tape, and each one has its fans. The method I’ll share today is just one of them, and notably it doesn’t make use of the two extra strips of bar tape that come in the box. These are normally used to cover up the clamp band on the brifters. As a general idea, I will be wrapping the tape from the outside in, then transitioning from back to front as I move to the bar tops.
We begin by first folding back the brifters’ brake hoods and stripping the old bar tape off the handlebars. Doing this exposes the cables and cable housings; make sure that they are securely fastened to the handlebar with electrical tape. The old bar tape may leave some adhesive residue on the bar itself; you can clean this off with some alcohol.


I start wrapping at the bottom edge of the very end of the drops. Place the tape so that half of it is on the bar, and half of it hangs in the air. Then, wrap one full turn around this initial bit of tape, toward the outside in, while pulling and keeping tension on the tape. Keeping this tension is important; this is primarily what keeps the bar tape wound around the handlebars, with the underside adhesive performing only a secondary role.


After this initial turn, I start to wrap diagonally along the drops, going up toward the brifter, while overlapping some of the tape upon itself. You can use the adhesive strip on the underside of the bar tape as a sort of guide to determine how much overlap you want. The amount of overlap will tend to vary as you go along, especially around curved portions of the bar, where you want smaller overlap on the inside curves. Remember to keep that tape under tension!

Approaching half the width of the tape to the clamp band of the brifters is when we perform the figure-eight bend that will cover up this area in lieu of the two bar tape strips. The trick to this method is to look at the brifter from the side as a fixed point of reference.
- First, feed the tape along the underside.
- Then pull the tape upward, wrapping once around the same plane as the brifter hoods.
- As you pull the tape downward, wrap it once around the back underside of the brifter lever, then wrap around the front. This is your chance to cover up any exposed clamp band or bar.
- Wrap once around the same plane as the brifter hoods again, as in #2. This is also the final chance to cover up any exposed clamp band or bar.
- If you did the figure-eight bend correctly, after clearing and wrapping the bar tape around the brifters, you should now be continuing your wrap from back to front.
- Remember to keep that tape under tension!


After varying the overlap for any remaining bends, you should be thinking about how to finish off the bar tape wrap as you approach the stem. You do this by scribing or lightly scoring the bar tape with your scissors at an angle, so that the end of the wrapped tape lines up straight. Once satisfied, you can cut the excess tape off. Remember to keep that tape under tension!

 At this point you should have your roll of electrical tape ready. Wrap the final bit of bar tape, then stick the electrical tape directly on top of it, some way behind the very end of the bar tape. Do not stick the electrical tape to the bar itself as this just makes the finish sloppy and the adhesion uneven. The electrical tape is nowhere near as elastic as the bar tape, so ideally it should be put under just a little tension, relying mainly on the adhesive to keep it in place – wrapped around itself. Wrap the roll of electrical tape around the bar tape three or four times, then cut so that it terminates on the underside of the bar, making it invisible.


Finally, to finish the job, roll back the brake hoods and return to the drops and the start point of the bar tape wrap. Fold the hanging bits of bar tape into the hollow of the bar. As you keep the bar tape inside the drop bar, take your bar end plug and push it in to anchor the bar tape in place.


You should now have a bike that feels significantly newer and fresher – just from swapping out bar tape!